|
As a bit of back story... the car
would very occasionally cut out suddenly and then be a bit
challenging to get started, but then be fine again. Then there
was an incident where I'd been for a long drive on a hot day and
on the way back I called into a hardware store and when I came
to leave the car wouldn't start - it would just turn-over
without firing. After a few hours I picked up a replacement
distributor cap and this seemed to get the car started and I
drove home without further incident.
Some months later I set off for a
car show but within only a couple of miles the car did its
cutting out thing. I got it started again and continued on, but
it didn't seem right so I took it easy. Sure enough though, as I
was getting past a lorry on a dual carriageway, the engine cut
out and I had to manoeuvre off into a lay-bay. Here the car
wouldn't start again until after half an hour, in a last-ditch
attempt, I sprayed electrical contact cleaner onto the
Electro-spark module under the ignition cap. This got the car
started but it wasn't running right so I limped it home.
Now I wrongly assumed the
Electro-spark module or ignition circuit was at fault, but
trying a new module made no difference; once the car warmed up
it would run rough. By this point I finally discovered the
coolant was low and things had been overheating. I replaced the
hoses, water pump and coolant, to no effect. The verdict?
Headgasket.
I got myself a compression
testing kit and this indicated that two cylinders had ok
compression, while two others were low, but they weren't
adjacent cylinders, so the result, whist not good, was odd. To
investigate further I now got hold of a bore scope to inspect
each cylinder. Annoyingly I was sent a lower spec one, but I
used it as best I could before sending it back for a refund.
From what I could see from the images the cylinder walls looked
ok (no heavy scoring), but some of the piston tops looked
pitted, and there was also a bit of something down the side of
one.
The plan: remove the head
and do whatever work is revealed beyond the headgasket (perhaps
piston rings, or more besides).
With the car now in its garage I
got to work first sorted out the lighting in
the room because the strip lights had been positioned before I'd
envisioned I would be turning the room back into a garage and
the bonnet simply cast a shadow over the engine bay.
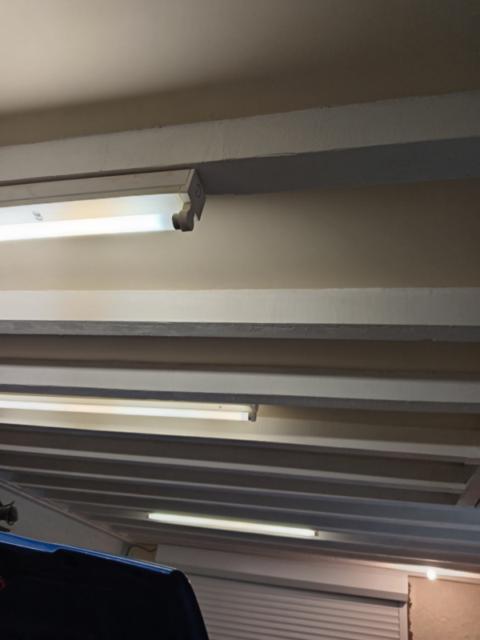
The nearest light is a new addition, the others
are of no use, but they can be switched off independently.
Having said that, the Hayne's
Manual includes "removing the bonnet" as one of the steps for
removing the head of the engine, but I'm suspecting that's not
necessary and I don't like the idea of having to lift it off the
car (I would need help with that) and re-aligning it later.
With the lighting improved, I
have now started slowly picking away at the car; coolant drained
(again), radiator out (again), timing belt cover removed
(again), a washer dropped down behind the bottom pulley...
(bugger)
Also on the to-do list is the crank case oil seal
that's had a slight leak for a while...
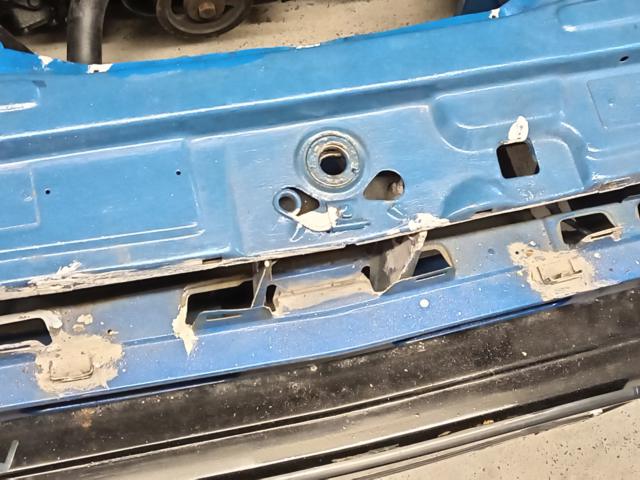
I'm also addressing other
things along the way; I removed the front grille because it had
a break in the plastic and keeps getting broken from leaning
over it. With it removed some rust spots are being treated.
I fashioned a suitably sized
and sturdy block of wood and knocked it into place to wedge the
pulley. It was close but it held enough for me to get the nut
undone.

Then the pulley pulled off with the aid of a bit
of leverage.
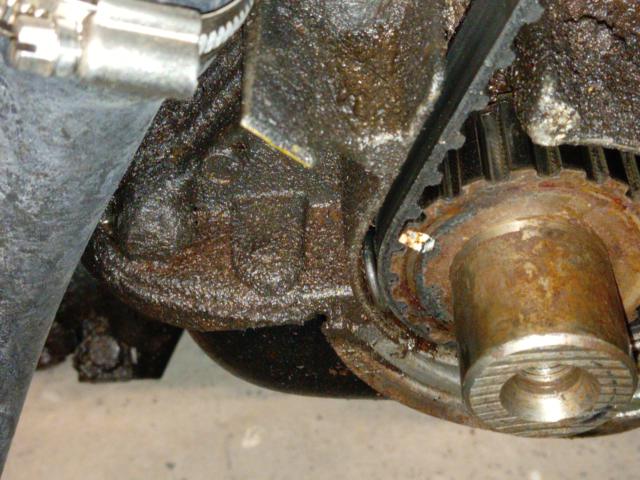
There's that pesky washer, sitting down between
the belt and the casing. It was actually a rubber washer so
wouldn't have been detrimental, but I actually thought it was a
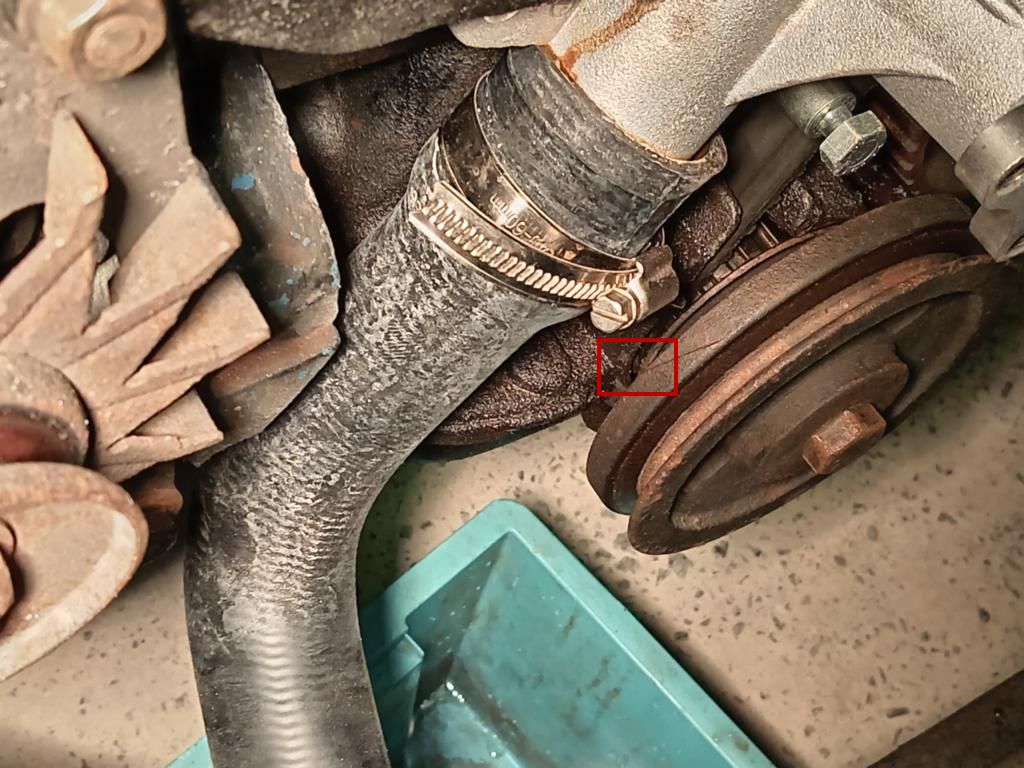
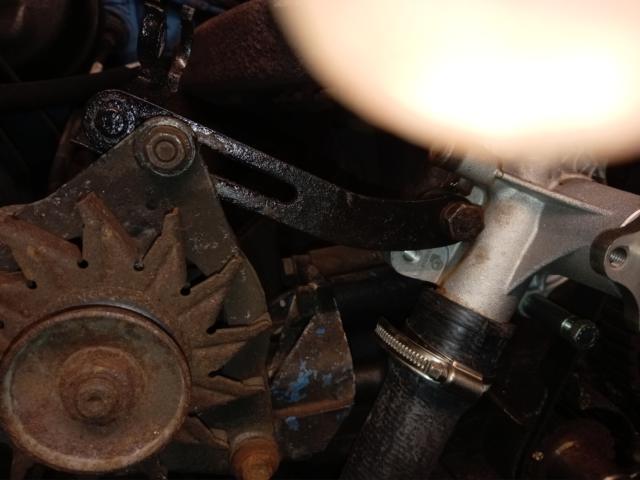
metal one. Moving on, I
re-removed the shiny new water pump (below). One thing I haven't
been sure about is that the alternator clamp is held to a bolt
that fastens the pump to the engine, whereas there is what seems
to be a proper mounting point for it below, but it was never
like that with the original pump and would it require a
different bolt, and a nut, which I don't have. Also, there was a
slight leak from the pump's fresh gasket (which I knew
about) because I believe I was supposed to oil the cardboard
gasket before installing(?) and I failed to do that. The gasket
needs replacing though and there are some, what are claimed to
be, "uprated" gaskets. The water pump bolts have a very low
tourque settings and since one of the original ones snapped when
I first removed the original pump I was very cautious not to
over-tighten them to mitigate leaks (they didn't feel tight
enough though).
 |
