|
[15 March 2023] I acquired one of these:
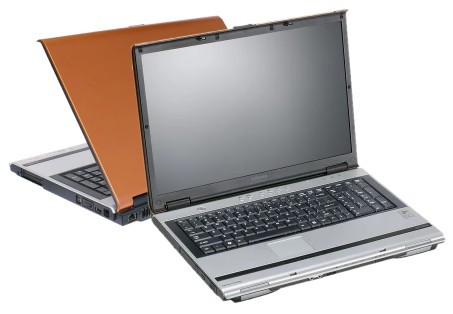
It's a 17" Toshiba Satellite
M60-132 laptop running Windows
XP, and I would go so far as to
say that it's a (retro) gaming
laptop since it has ATI Radeon
128MB graphics, larger screen,
and up-rated audio.
My
specimen is in a nice condition
and while I'm not into gaming,
the built-in speakers are, as
far as laptops are concerned,
nice for watching movies.
RAM:
My version came to me with only
512MB DDR2 4200 RAM, but this
can be upgraded to 2GB according
to the specs. I have tried 4GB
with 2 x 2GB DDR2 6400 but it
failed to start up. I got it to
start up with a 2GB and the 512MB
module, but only 2GB was
recognised by the BIOS. Perhaps
2 x 2GB DDR2 5300 modules will
work. For now I have installed 2 x
1GB modules.
Hard Drive:
My version was supplied with a
60GB IDE hard drive. I have an
IDE to CompactFlash card adapter
which I have tried it with, but
there is little performance
improvement over a hard drive,
and less capacity with my 8GB
card.
Faults:
The mouse pad doesn't work on
mine; the function key works for
it but still nothing. The
battery also holds insufficient
power to switch it on.
I'm
contemplating what to do with
the laptop. I have the original
recovery discs.
- - - - -
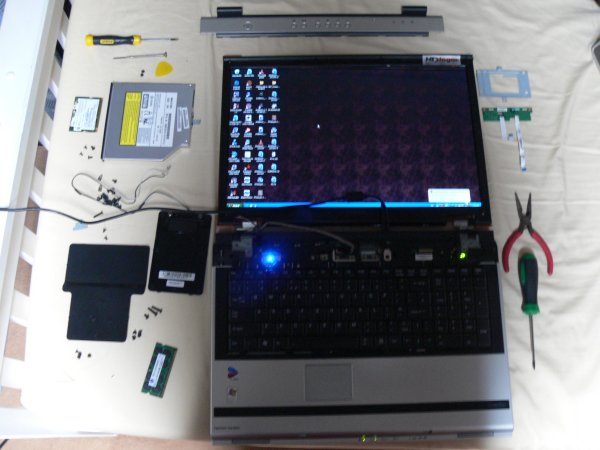
[08 October 2023] I finally
stopped procrastinating about
the mouse pad issue and
investigated it further. This
involved dismantling the laptop.
- Remove the battery and press the
power button to discharge any remaining power.
- Remove the RAM and Hard Drive/WiFi
module covers, and remove the hard drive.
- Remove all screws from the base,
including two shorter ones under where the battery sits and two
hinge screws from the rear.
- Remove the DVD drive.
- The button panel clips in place.
I first unclipped it from the hinges by poking a screwdriver in
and carefully prying up. I then used a sewing pin and small
precision screwdriver to prise the panel up from under each end
of the panel where it meets the forward part, doing my best not
to mar the plastic or break any clips.
- Remove the 4 screws holding the
keyboard in place and remove the keyboard, detaching its cable.
Also detach the mouse and button panel's cables.
- Detach the WiFi antenna cables
and feed them up through the laptop and unroute them back to
where they go into the screen panel.
- I unscrewed the screen's hinges
and lifted them out from the base of the laptop and carefully
laid it down flat.
- Further screws to be removed can
now be found in the top panel (note the different lengths here).
- Using a plastic pry tool (or
guitar pick/plectrum) I unclipped the top panel round its edges.
I left the screen plugged in and instead carefully lifted the
top panel up and and then laid it back on the screen, being
careful with the screen cable.
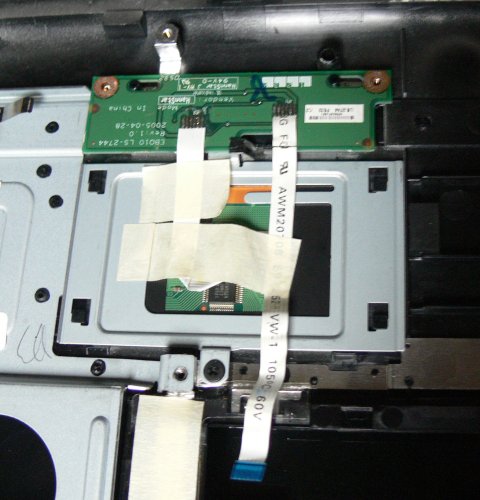
- I now had access to the rear of
the top panel to detach the mouse pad. There is also access now
to the CMOS battery if you ever need to replace it.
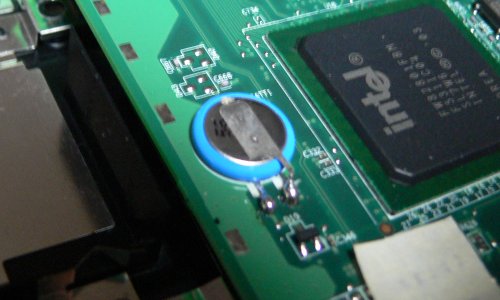
The
CMOS battery for visual
reference, soldered in place.
The
mouse pad is held in place with
a metal bracket and it then
essentially consists of two
parts; the trackpad and button
panel (the ribbon cable joining
the two parts can be unplugged).
I
couldn't find anything obviously
wrong but I had found a
replacement mousepad assembly on
ebay and swapping in that solved
my problem.
I
took this opportunity to try and
further fault-find the original
mousepad and discovered where
the main cable joins to the
button board at least one of the
contacts was detached. I
carefully re-soldered it and got
the mouse pad working, but it
was still proving to be
problematic, such as the system
sometimes responding as if I'd
right-clicked instead of left,
or as it I'd held down the left
button. Perhaps further
attention to the soldering of
that cable could have got things
working perfectly (the buttons
themselves seemed ok) but since
I had a working component I
didn't bother spending any more
time here - the cable shouldn't
have become detached in the
first place and I put this
problem down to a 18-year old
manufacturing defect...
Incidentally, the original mouse
button board was manufactured in
Taiwan by 'ACCL', whereas the
replacement had been made in
China by 'HannStar'.
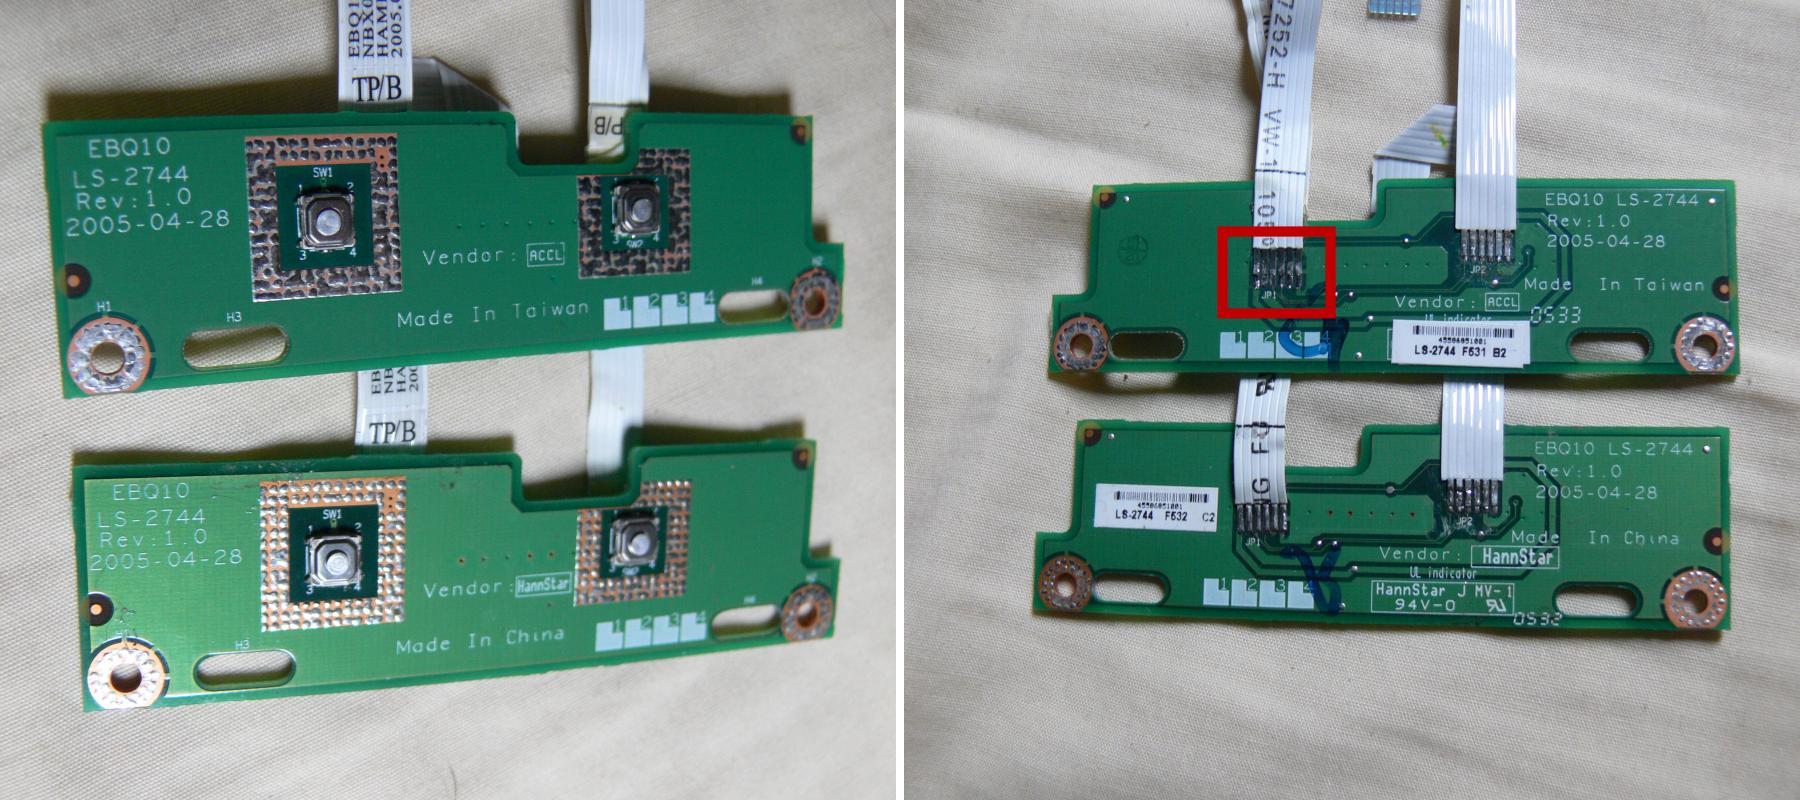
Problem area highlighted.
Final testing before reassembly.
Further notes about disassembly:
The screen's bezel is held in
place by four screws, one in
each corner under the little
covers. It then needs to be
unclipped with a pry tool.
To clean the CPU heatsink/fan or
apply fresh thermal paste (and I
think replace the power socket)
would require removing the
motherboard.
Final notes:
The
main battery remains dead and no
replacements are available.
Rebuilding laptop battery packs
might be something for me to
consider.
I'm
tempted to dual-boot this laptop
with perhaps ArchLinux 32-bit.
More
info was [here]
until recently, but sadly is no
longer, nor is it archived on
WayBackMachine.
[Back
to Top]
|