"A favicon (short for favorite
icon), also known as a shortcut icon, website icon, tab icon,
URL icon, or bookmark icon, is a [graphic/icon] associated with
a particular website or web page. [As] web designer [you] can
create such an icon and upload it to your website (or web page)
... and ... web browsers will then make use of it." -
Wikipedia

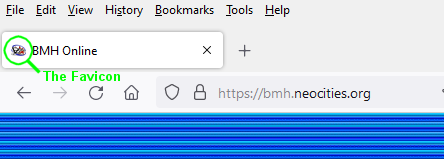
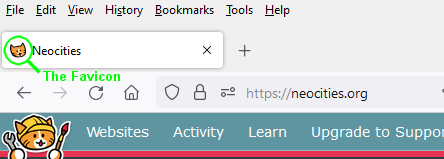
An example favicon.
- By default, if you host your
website with
Neocities, your website will share the Neocities favicon,
but this can be changed.

- The favicon file is typically
favicon.ico and should be stored in your website's root
directory.
- For the purpose of this simple
guide you can use any .png file (you can create this in
GIMP, for
example).
- The file image should be square
and a minimum of 32x32 pixels, 48x48 pixels is better.
- Unless your icon is square and
fills the space then using transparency is best (consider
that the icon can appear on a variety of background/tab colours).
- Upload your .png to
favicon.io
using the PNG > ICO* option (other tools are available and might
work differently).
- From favicon.io's tool a .zip
file will be created and downloaded. Delve into this for the
favicon.ico file to move/upload to your website's home
directory.
- View your website in your
browser to see how the icon looks.
That's essentially it, but here are
some further considerations:
- If you alter your favicon you
might find it doesn't appear to update in the browser
immediately - try refreshing the page/F5.
- With the above method your
favicon will represented throughout your website, however, you
can change this by including the following line within a page's
head tags:

Notice here that you can avoid using
the .ico standard.
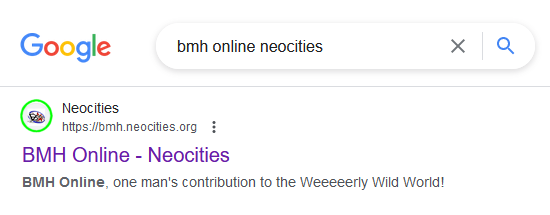
- Search engines and other search
engines may also use your favicon file to better display your
site:

I hope these steps help you create
your favicon - you're welcome to
get in touch about this.
*The steps for using the favicon.io
service appear correct at the time of printing, but things
might change.
|